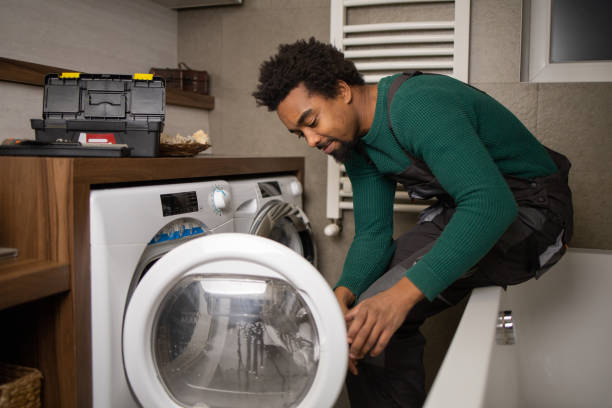
Breakdowns in the machine are divided into rare and typical. The drum stop refers to the second group. Causes of failure may be mechanical, technical, or domestic problems.
Worn brushes of the electric motor
When worn brushes do not provide the necessary electromagnetic field, the motor rotor stops turning. As the washer runs, this part shortens and no longer reaches the collector. It needs to be replaced.
If the machine is assembled, remove the back wall, and the belt. Disconnect the motor from the power by pulling the connector with wires. Dismantle the motor itself.
Next, lay the motor on its side so that the brush housing is on top, and unscrew the fastening bolts, pull out the part from one side and the other.
Do not rush to change, inspect the elements. Measure the rods: if their length exceeds 1.5 cm, the brushes are not the cause of the drum stop.
Also do not forget to clean the collector of black plaque, and scratches and remove them with sandpaper. That’s it, now you can put the new elements and bolt them on.
The control module is broken
The drum may remain stationary due to the lack of a signal from the “brain” to start the washing. Most often the control board fails due to voltage fluctuations or natural wear and tear.
There are three options for solving the problem – do a program reset, “reflash” or replace the module.
Some models have a self-check function. It allows you to determine the source of the problem. How to enable this function? It is not written in the manual, but the way to start it depends on the manufacturer and the specific model.
As an example – Ardo is tested as follows: we drain the water, the tank should be empty, put the mechanical program switch vertically down, and set the zero temperature. To start the test mode, press all buttons at once.
If there is still a need to remove the board, it is easy enough to remove. We remove the top panel, remove the top of the machine, remove the fixing bars, and take out the module.
Repair of the control unit requires special skills – it is necessary to check the parameters of the elements and trace the chains. Carefully examine the board.
There are 4 indications that serious intervention is needed:
-Tracks darkened, the color changed in some places, and scorch marks appeared.
– Bulges on the capacitor caps are visible.
– Burned-out varnish on the damping coils.
– The main processor is darkened at the mounting location.
If any of the above are found and there is no experience with a soldering iron or multimeter, trust a technician with San Diego Appliance Repair Service to repair.
Failures associated with sensor malfunctions can be repaired by yourself. Contact groups over time get soiled and clogged, you just need to clean them. Remove the program controller, disassemble the knob, and clean it.
If there is a layer of soot on the power coils of the line filter, sweep it off with a dry rag and brush. Free the hatch lock assembly from the soap scum.
The motor burned out
The motor is usually reliable and it takes a lot of effort for it to break. But there are a couple of instances where it does happen. A winding short occurs or the winding breaks at the stator and rotor.
A characteristic sign of the first situation – an empty drum spins normally, and with a full wash, the plugs are knocked out. In the second situation, the drum stops rotating at all.
Repair is possible if the drum has stopped, but the included machine hums. Full replacement of the motor is needed when there is no start at all, smells like garbage, there is dark smoke, and the washing machine sparks. To begin with, let’s take off the electric motor, and let’s see what can be done.
Removing the motor is similar to the order of work when replacing the belt. If it is jammed by the tank, slightly lift the tank and release the motor. Sometimes you have to remove the side wall as well. There are three main faults – brushes, lamellae, and windings.
How to replace the brushes, we have already reviewed. You can check the functionality of the windings with a multimeter by probing the neighboring lamellae one by one. The discrepancy should be less than 5 ohms.
Let’s also check the closing of all windings: place one probe on the body, and the other on the lamellae. If everything is OK, the resistance will be high.
If the windings are faulty, it is better to find the same part and replace it. Rewinding will cost more. Minor delamination of the lamellae can be turned on a lathe.
But such an action will not be a panacea, the factory’s appearance and quality will not be returned to them. Conclusion: replace parts with new ones.
It’s time to call for professional appliance repair in San Diego county. San Diego Appliance Repair Service is here to help with professional and experienced appliance repairs.
Contact us
(619) 719-5005
[email protected]